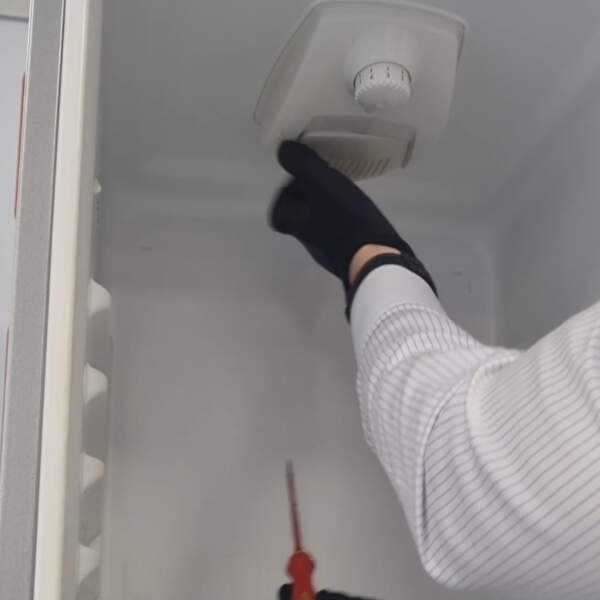
Step 1
Poor heat distribution, broken oven door, a smell of gas, hob not working – fix these issues and more.
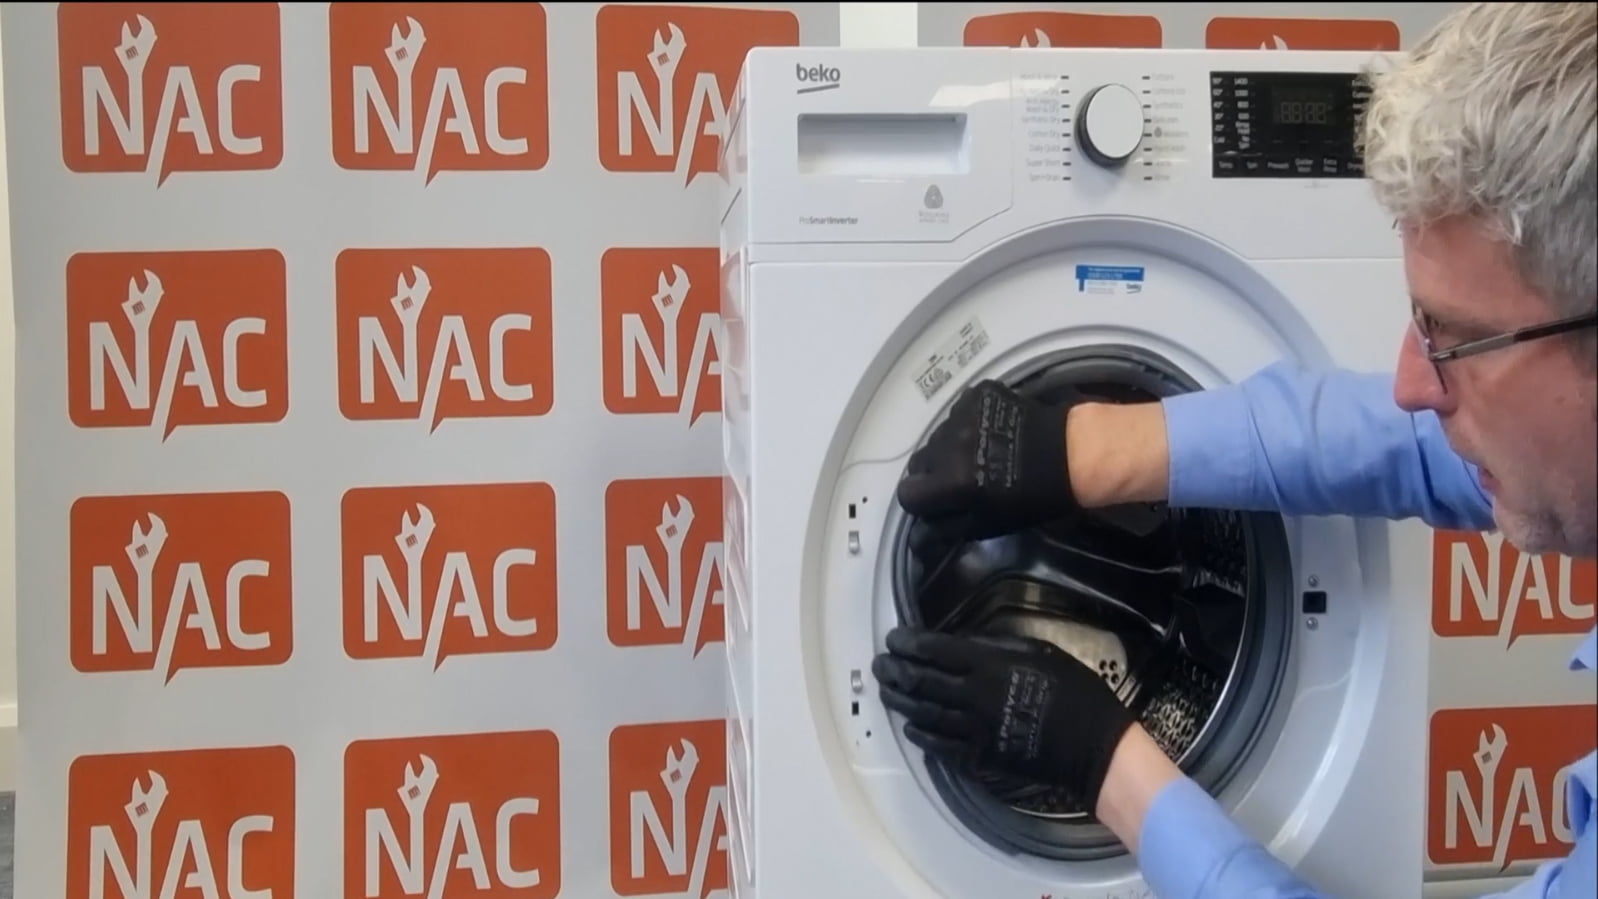
In this article, we’re going to talk through a common issue of the door seal being detached from the front of a washing machine causing a leak from the door.
It could be that the machine has been overloaded and an item of clothing has become trapped between the glass and the rubber. When the drum starts to turn, it pulls the clothing into the machine but also pulls the door seal with it.
Before carrying out any work on your appliance, we always recommend that you safely isolate the machine from the power by unplugging it and isolate the water by turning it off at the tap. It is also recommended that safety gloves are worn.
To reattach a door seal, follow the steps below.
In order to attach the seal to the cabinet, peel back the edge of the seal and drop the groove onto the lip of the machine so that it slots in place. Work your way around until the entire door seal is attached.
In most cases, this is a wire ring with a spring attached.
You will notice that there is a section of the door seal that extends out further than the rest. This is where the manufacturer has indicated the spring should sit. Placing the spring in any other position may cause issues with the door closing, possibly even a leak. Therefore, always aim for where the manufacturer has indicated the spring should be placed.
The tension of the spring can make attaching the ring difficult however using long-nosed pliers can make this easier.
Whilst keeping hold of the spring with the pliers, feed the wire around onto the seal as far as possible without placing any tension on the spring.
I hope you’ve found this article useful but if you need further assistance then you can book an engineer visit quickly and easily by following the Book A Repair button on our website.


We aim to send an engineer on the same day of reporting the fault or the next day where possible.


We believe in our skills and follow that up with a standard guarantee of our work to give you peace of mind.


We understand the importance of budgeting and make sure you are fully aware of all costs in advance.


Husband and Wife team Adrian & Amanda set the standards at NAC with over 40 years experience.